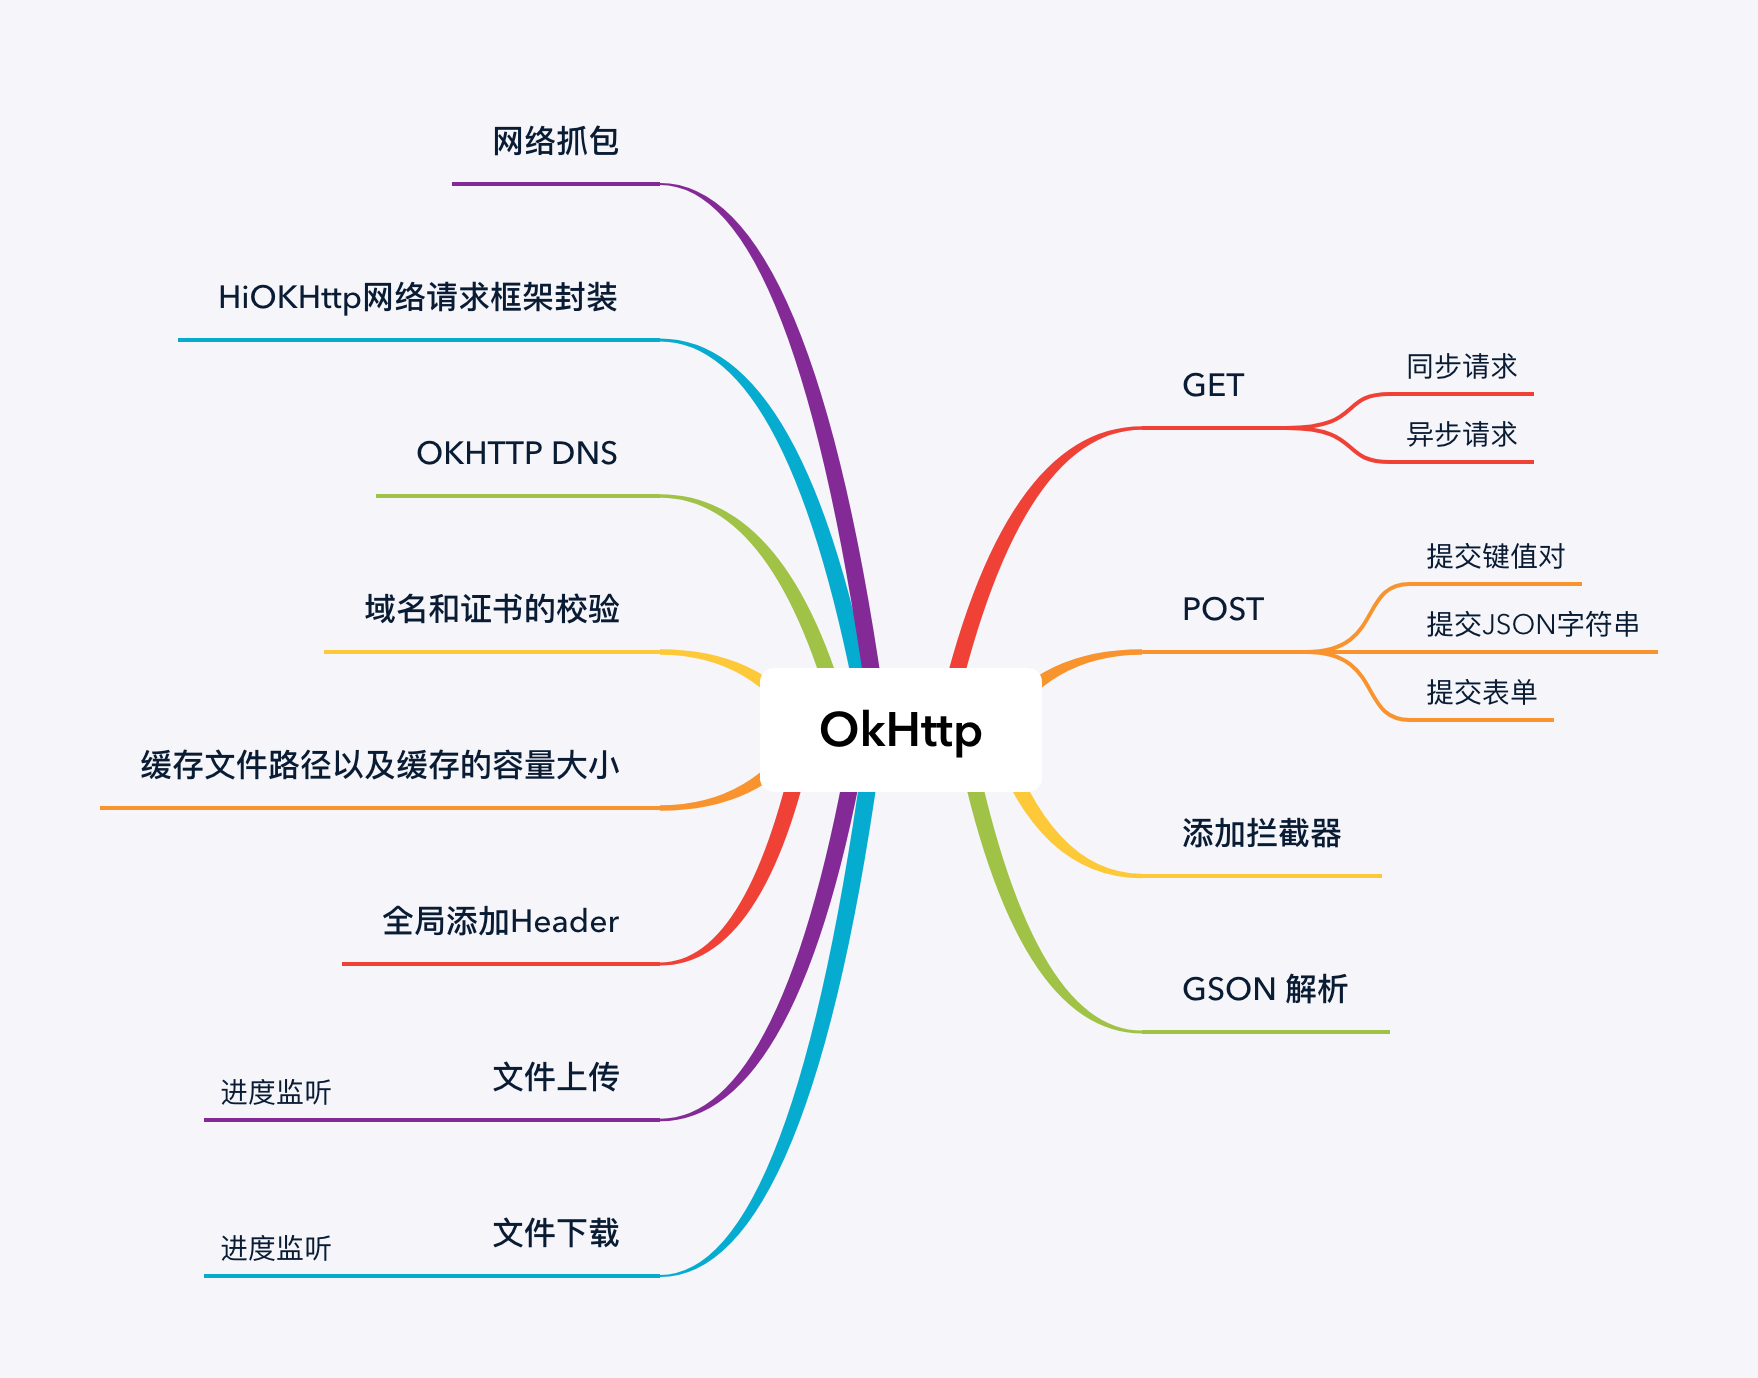
高性能网络框架OKHttp
出现背景
在okhttp出现以前,android上发起网络请求要么使用系统自带的HttpClient、HttpURLConnection、要么使用google开源的Volley、要么使用第三方开源的AsyncHttpClient, 随着互联网的发展,APP的业务发展也越来越复杂,APP的网络请求数量急剧增加,但是上述的网络请求框架均存在难以性能和并发数量的限制
OkHttp流行得益于它的良好的架构设计,强大的拦截器(intercepts)使得操纵网络十分方便;OkHttp现在已经得到Google官方认可,大量的app都采用OkHttp做网络请求,其源码详见OkHttp Github。
也得益于强大的生态,大量的流行库都以OkHttp作为底层网络框架或提供支持,比如Retrofit、Glide、Fresco、Moshi、Picasso等。
当OKhttp面世之后,瞬间成为各个公司的开发者的新宠,常年霸占github star榜单,okhttp可以说是为高效而生,迎合了互联网高速发展的需要
特点
1.同时支持HTTP1.1与支持HTTP2.0;
2.同时支持同步与异步请求;
3.同时具备HTTP与WebSocket功能;
4.拥有自动维护的socket连接池,减少握手次数;
5.拥有队列线程池,轻松写并发;
6.拥有Interceptors(拦截器),轻松处理请求与响应额外需求(例:请求失败重试、响应内容重定向等等);

开始使用
在AndroidManifest.xml添加网络访问权限
<uses-permission android:name="android.permission.INTERNET" />
添加依赖
在app/build.gradle的dependencies中添加下面的依赖
implementation("com.squareup.okhttp3:okhttp:4.9.0")

// 网络请求日志打印
implementation("com.squareup.okhttp3:logging-interceptor")
初始化
val client  = OkHttpClient.Builder()    //builder构造者设计模式
         .connectTimeout(10, TimeUnit.SECONDS) //连接超时时间
         .readTimeout(10, TimeUnit.SECONDS)    //读取超时
         .writeTimeout(10, TimeUnit.SECONDS)  //写超时,也就是请求超时
         .build();
GET请求
同步GET请求
同步GET的意思是一直等待http请求, 直到返回了响应. 在这之间会阻塞线程, 所以同步请求不能在Android的主线程中执行, 否则会报错NetworkMainThreadException.
val client = OkHttpClient()

fun run(url: String) {
    val request: Request = Request.Builder()
        .url(url)
        .build()
    val call =client.newCall(request)
    val response=call.execute()
    val body = response.body?.string()
    println("get response :${body}")
}
发送同步GET请求很简单:
- 创建
OkHttpClient实例client - 通过
Request.Builder构建一个Request请求实例request - 通过
client.newCall(request)创建一个Call的实例 Call的实例调用execute方法发送同步请求- 请求返回的
response转换为String类型返回
异步GET请求
异步GET是指在另外的工作线程中执行http请求, 请求时不会阻塞当前的线程, 所以可以在Android主线程中使用.
onFailure,onResponse的回调是在子线程中的,我们需要切换到主线程才能操作UI控件
val client = OkHttpClient()

fun run(url: String) {
    val request: Request = Request.Builder()
        .url(url)
        .build()
    val call =client.newCall(request)
    call.enqueue(object : Callback {
        override fun onResponse(call: Call, response: Response) {
            println("onResponse: ${response.body.toString()}")
        }

        override fun onFailure(call: Call, e: IOException) {
            println("onFailure: ${e.message}")
        }
    })
}
异步请求的步骤和同步请求类似,只是调用了Call的enqueue方法异步请求,结果通过回调Callback的onResponse方法及onFailure方法处理。
看了两种不同的Get请求,基本流程都是先创建一个OkHttpClient对象,然后通过Request.Builder()创建一个Request对象,OkHttpClient对象调用newCall()并传入Request对象就能获得一个Call对象。
而同步和异步不同的地方在于execute()和enqueue()方法的调用,
调用execute()为同步请求并返回Response对象;
调用enqueue()方法测试通过callback的形式返回Response对象。
注意:无论是同步还是异步请求,接收到
Response对象时均在子线程中,onFailure,onResponse的回调是在子线程中的,我们需要切换到主线程才能操作UI控件
POST请求
POST请求与GET请求不同的地方在于Request.Builder的post()方法,post()方法需要一个RequestBody的对象作为参数
同步POST请求
val body = new FormBody.Builder()
            .add(key,value)
            .build();

val request = new Request.Builder()
      .url(url)
      .post(body)
      .build();

val response = client.newCall(request).execute();
val body =response.body().string()
println("post response: ${body}")
和GET同步请求类似,只是创建Request时通过Request.Builder.post()方法设置请求类型为POST请求并设置了请求体。
异步表单提交
val body = FormBody.Builder()
            .add(key,value)
            .add(key1,value2)
            .build();

val request = new Request.Builder()
      .url(url)
      .post(body)
      .build();

val call = client.newCall(request)
call.enqueue(new Callback(){
  @Override
   public void onFailure(Request request, IOException e){

   }

   @Override
   public void onResponse(final Response response) throws IOException{
       // 回调的结果是在子线程中的,我们需要切换到主线程才能操作UI控件
       String response =  response.body().string();
   }
}
异步表单文件上传
val file = File(Environment.getExternalStorageDirectory(), "1.png")
if (!file.exists()) {
    Toast.makeText(this, "文件不存在", Toast.LENGTH_SHORT).show()
         return
}
val muiltipartBody: RequestBody = MuiltipartBody.Builder()
     .setType(MultipartBody.FORM)//一定要设置这句
     .addFormDataPart("username", "admin") //
     .addFormDataPart("password", "admin") //
     .addFormDataPart( "file", "1.png",RequestBody.create(MediaType.parse("application/octet-stream"), file))
      .build()
异步提交字符串
val mediaType = MediaType.parse("text/plain;charset=utf-8")
val body = "{username:admin, password:admin}"
RequestBody body = RequestBody.create(mediaType,body);

val request = new Request.Builder()
      .url(url)
      .post(body)
      .build();

val call = client.newCall(request)
call.enqueue(new Callback(){
  @Override
   public void onFailure(Request request, IOException e){

   }

   @Override
   public void onResponse(final Response response) throws IOException{
       // 回调的结果是在子线程中的,我们需要切换到主线程才能操作UI控件
       String response =  response.body().string();
   }
}
拦截器LoggingInterceptor
拦截器是OkHttp当中一个比较强大的机制,可以监视、重写和重试调用请求。
这是一个比较简单的Interceptor的实现,对请求的发送和响应进行了一些信息输出。
// 添加拦截器
client.addInterceptor(LoggingInterceptor())
// 自定义日志打印拦截器
class LoggingInterceptor: Interceptor {
  @Override fun intercept(chain:Interceptor.Chain):Response  {
    val request = chain.request();
    val time_start = System.nanoTime();
    println(String.format("Sending request %s on %s%n%s", request.url(), chain.connection(), request.headers()));

    val response = chain.proceed(request);

    long time_end = System.nanoTime();
    println(String.format("Received response for %s in %.1fms%n%s",
        response.request().url(), (t2 - t1) / 1e6d, response.headers()));

    return response;
  }
}
INFO: Sending request http://www.publicobject.com/helloworld.txt on null
User-Agent: OkHttp Example

INFO: Received response for https://publicobject.com/helloworld.txt in 1179.7ms
Server: nginx/1.4.6 (Ubuntu)
Content-Type: text/plain
Content-Length: 1759
Connection: keep-alive
使用Gson来解析网络请求响应
Gson是Google开源的一个JSON库,被广泛应用在Android开发中
在app/build.gradle中添加以下依赖配置
dependencies {
  implementation 'com.google.code.gson:gson:2.8.6'
}
 class Account {
     var uid:String="00001;
     var userName:String="Freeman";
     var password:String="password";
     var telNumber:String="13000000000";
}
将JSON转换为对象
val json ="{\"uid\":\"00001\",\"userName\":\"Freeman\",\"telNumber\":\"13000000000\"}";

val account = gson.fromJson(json, Account.class);
println(receiveAccount.toString());
将对象转换为JSON
val gson = GSON()

val account = new Account()
println(gson.toJson(account));
输出结果===> {"uid":"00001","userName":"Freeman","telNumber":"13000000000"}
将集合转换成JSON
val gson = GSON()

val accountList = ArrayList<Account>();
accountList.add(account);

println(gson.toJson(accountList));
输出结果===> [{"uid":"00001","userName":"Freeman","telNumber":"13000000000"}]
将JSON转换成集合
val json= "[{\"uid\":\"00001\",\"userName\":\"Freeman\",\"telNumber\":\"13000000000\"}]"

val accountList = gson.fromJson(json, TypeToken<List<Account>>(){}.getType());
println("accountList size:${accountList.size()}");